
End of Abyss Data Shards: All 8 Locations & the Secret Ending
All 8 Data Shard locations in End of Abyss — the keys, tools and burnable walls behind each, and how they unlock the secret ending at the Mainframe.
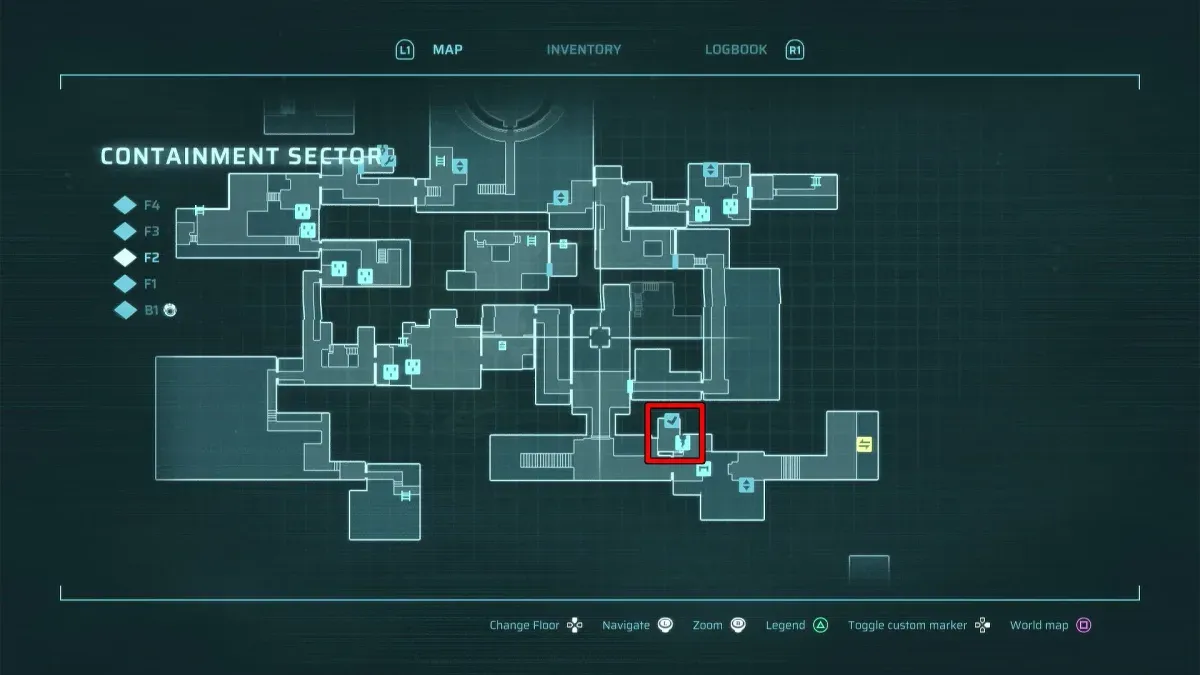
Eight Data Shards are scattered across the facility — each one a multi-step hunt through keycards, weak walls, and burnable growths. Together they unlock the game’s second ending. You’ll need the full toolkit — Explosive Charges, Grappling Hook, and Incinerator — so the natural time to finish this is the Lower Levels stretch of walkthrough part 6, or post-game.
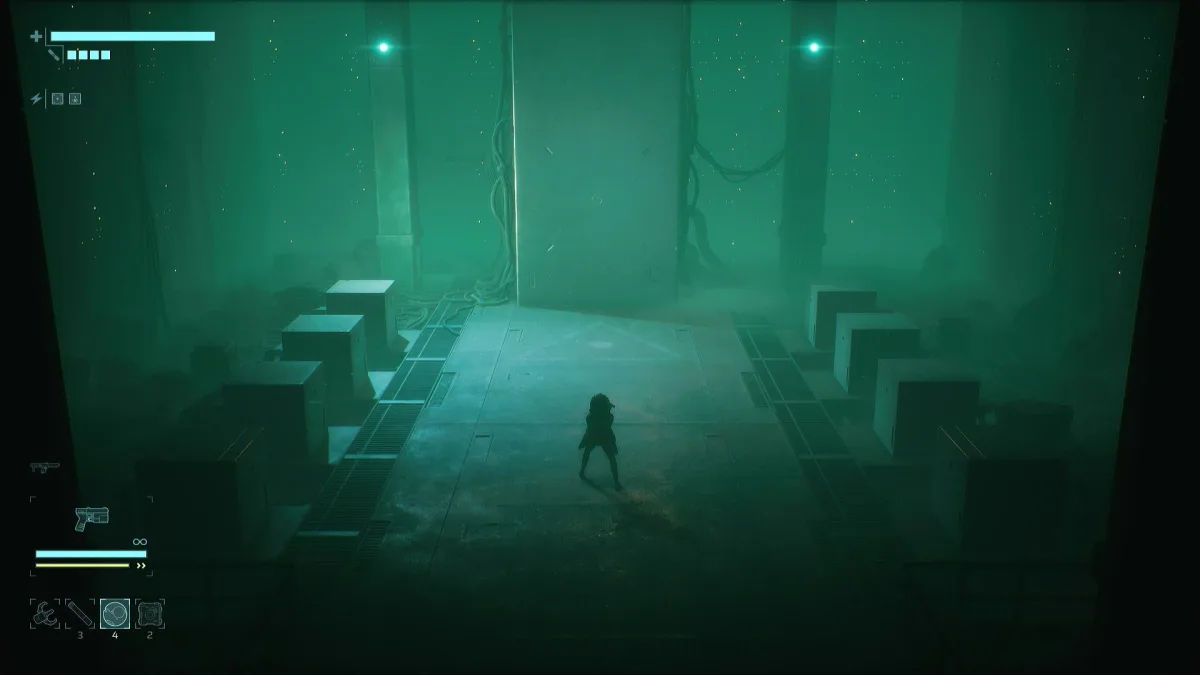
How the secret ending works
Collect all 8 for the “Defragmented” trophy, carry them to the Mainframe on Lower Levels B3, then defeat the Fractured Being — that rolls the secret ending and “The End” trophy. The critical rule is the opposite of what most players assume: do not hand in the full set before your first Fractured Being kill — if the secret ending triggers first, you’re locked out of the normal ending and its trophy on that save. Bank the normal ending, then deliver and re-fight. Everything else about the fork is in the endings guide. Nothing is missable — every shard stays available after the credits.
All 8 Data Shard locations
| # | Location | Requirement |
|---|---|---|
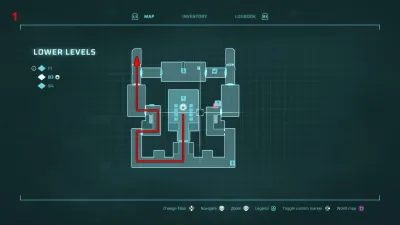
| 1 | Lower Levels > F1 | Incinerator — burn the wall in the hall to the north |
| 2 | Habitation Sector > F1 | Security Guard + Security Chief Keycards |
| 3 | Ventilation Tunnels > F3 | Explosive Charge + Ventilation Maintenance Key |
| 4 | Factory West > F4 | Executive Level Access Keycard (from Outer Sector) |
| 5 | Reactor > B1 | Drain the Reactor Pool + Underbelly Key |
| 6 | Waterworks > B3 | Sewer Workshop Key |
| 7 | Containment Sector > F3 | Explosive Charge + Storage Room Key |
| 8 | Lower Levels > B4 | Incinerator — burn the tunnel wall |
Shard 1 — Lower Levels F1
Burn down the wall in the hall to the north of F1 — pure Incinerator work, reachable the moment the weapon lands.
Shard 2 — Habitation Sector F1
A three-keycard chain rooted in Containment:
- In the Containment Sector, plant an Explosive Charge on the wall just left of the fast-travel shuttle — the Security Guard Keycard is behind it.
- Back in Habitation F1, it opens the door on the right at the end of the corridor. Head downstairs and through the left door for the Security Chief Keycard.
- That opens the door on the left in the main hall — go through, then through the north door. The shard is inside. (The Big Knife cheat code is in the same vault — third cell on the wall.)
Shard 3 — Ventilation Tunnels F3
The same gauntlet that guards the Brood Keeper:
- Explosive Charge the weak wall right of the easternmost entrance from Factory East.
- Through to F2, around the upper catwalk, pull down the ladder to F3.
- All the way right, up the stairs, survive the ambush, take the Ventilation Maintenance Key.
- Open the northern door on F3 — the shard is inside.
Shard 4 — Factory West F4
- Get the Executive Level Access Keycard in the Outer Sector: blast the Maintenance F2 floor outside the safe room (same route as the Support Gun hunt), climb down, and head all the way left — the card is behind boxes.
- In Factory West, use it on the F2 lift, ride up to F4 — the shard sits in the second room with the large table.
Shard 5 — Reactor B1
The longest hunt — it shares the Reactor Pool drain with the Centipede rematch:
- Waterworks B3: left-room switch → right-side circular-structure switch → east pump console → ladder down through the door left of the console → Explosive Charge the north dead-end wall → top-right door of B3 → Energy Node door + ambush → final switch drains the Reactor Pool.
- Climb into the Reactor Pool on Reactor B3. Take the left path at the bottom — the Underbelly Key is in a locker.
- Use it on the door down the short stairs outside the Reactor, right side of F1. Shard inside.
Shard 6 — Waterworks B3
Grab the Sewer Workshop Key on the left side of the B3 sewers, then open the small room at the bottom of the sewers. Quick once you’re down there — pair it with the Energy Cell behind the grappled switch nearby (suit mods guide).
Shard 7 — Containment Sector F3
- Blow an Explosive Charge hole through the wall on B1.
- In the next room, grapple down the ladder, climb it, and take the Storage Room Key.
- It opens the door on F3 — shard inside.
Shard 8 — Lower Levels B4
Down the stairs in front of the B3 safe room into the tunnels — halfway along, burn down the wall with the Incinerator. The shard is behind it; note NO-036 is down here too if you’re finishing the logbook.
Recommended order
Collect 1 and 8 the moment the Incinerator lands, sweep 2–7 on a post-game shuttle loop — but only hand the set to the Mainframe after your first Fractured Being kill has banked the normal ending. Then re-fight the boss for the secret ending. Every shard is permanently available — nothing locks behind the ending.
Related Articles
End of Abyss Fractured Being: Final Boss Strategy (Both Phases)
Fractured Being final boss guide: phase 1 melee, grab and gravity attacks, phase 2 tendrils and shockwave — plus the stagger trick that trivializes its pull.
Last updated Oct 5
End of Abyss Optional Bosses: Brood Keeper, Morgue Dweller & Rematch
All three optional End of Abyss bosses — the Centipede rematch in the Reactor Pool, Brood Keeper in the Tunnels, and Morgue Dweller in the Infirmary.
Last updated Oct 5
End of Abyss Suit Mods: All 10 Mods, 8 Vaults & 6 Energy Cells
Every suit mod, vault, and Energy Cell in End of Abyss — where all 10 mods and 8 Vault Keys are, plus the 6 Energy Cells that unlock extra mod slots.
Last updated Oct 5
Was this helpful?
Thanks for the feedback!