
End of Abyss Walkthrough Part 2: Factory East & the Reactor
Walkthrough part 2: cross Factory East and the Ventilation Tunnels, activate the three Power Cells, beat the Centipede Husk, and restart the Reactor.
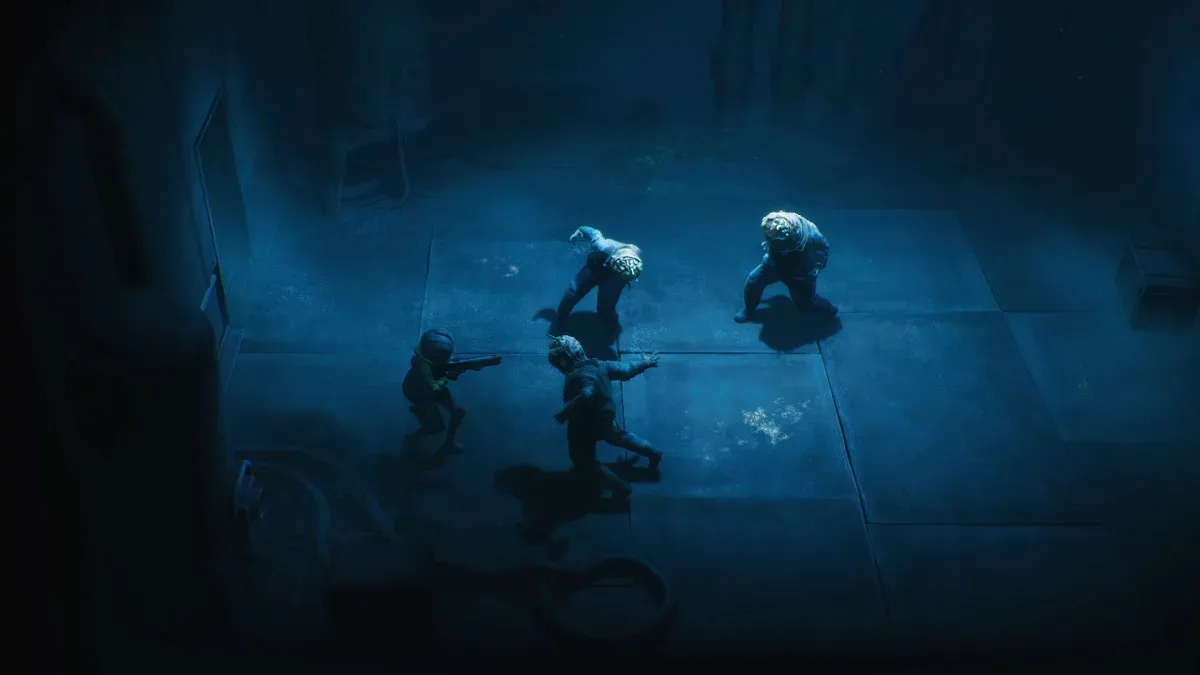
Part 2 picks up as the Shuttle deposits you in Factory East, threads through the Ventilation Tunnels to the dead Reactor, and ends with the objective that shapes the whole mid-game. If you missed the Riot Breaker in Part 1, go back for it — the Riot Breaker makes this section’s ambushes much safer.
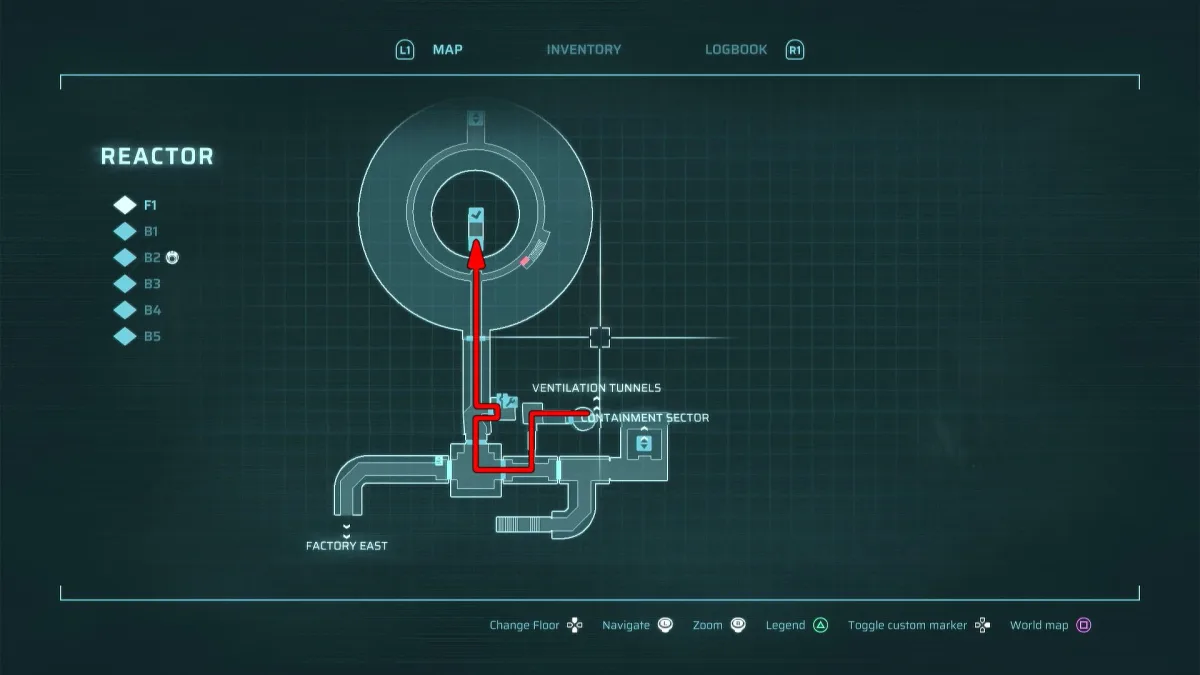
Cross Factory East
Factory East is a short connector zone — grab the Factory Keycard, note the safe room, and push toward the Ventilation Tunnels.
- From the Shuttle, head south, then right into a large room. The door on the right is a safe room — use it.
- Take the door in the top right of that room and follow the path to a dead end holding the Factory Keycard.
- Return to the safe room area and exit through the bottom right door, just below it.
- Push through Factory East until you reach the Ventilation Tunnels. There are two entrances depending on your route — both feed the same path.
Two things to tag for later: the hidden Security Rifle is a few steps off this route behind an Explosive Charge wall, and the weak wall by the Tunnels’ easternmost entrance hides the route to the optional Brood Keeper. You’ll need Explosive Charges from Part 3 for both.
Descend the Ventilation Tunnels
Head for the circular room at the top of the Tunnels and climb down the ladder — the path from there is linear to the Reactor. Along the way you’ll pass free grenades and a safe room through a door on the right of the last hall. Take both; the next stretch earns them.
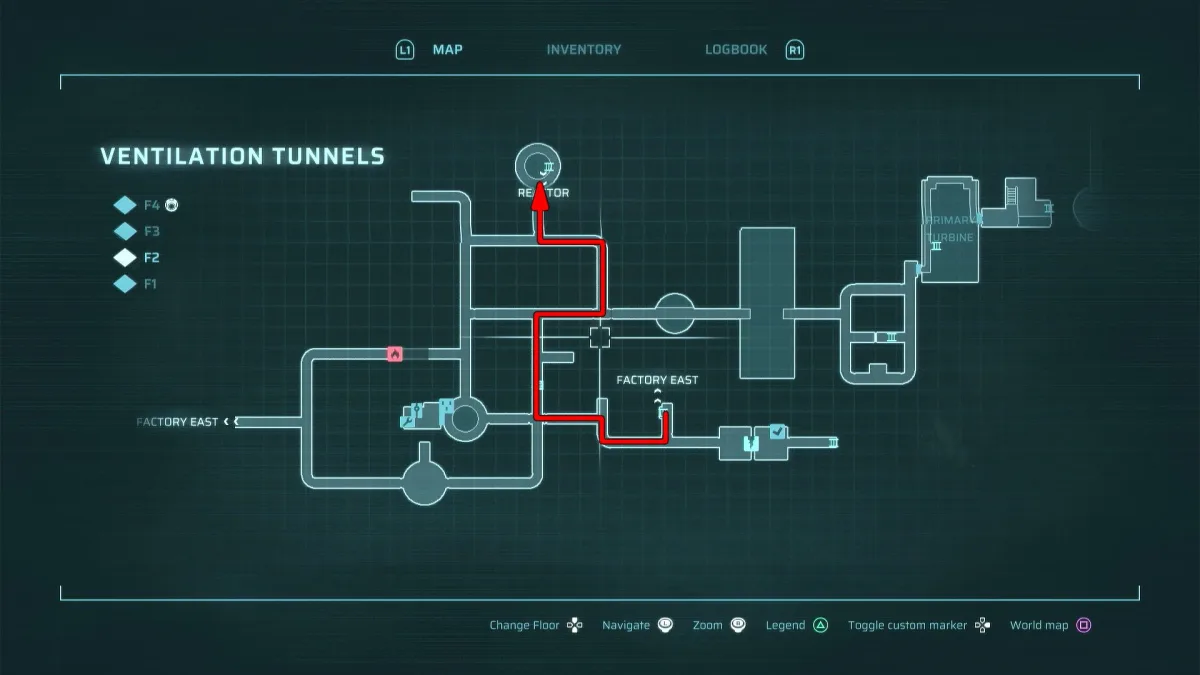
The Reactor fails — find the Power Cells
Ride the Reactor’s central lift up and try the console — it fails, which kicks off the real objective: three Power Cells in the sub-levels.
- Ride the lift back down and work around to the back of the Reactor, where a small lift descends.
- In the lower area, the door on the right leads to the first Power Cell — activate it.
- Cross to the far-left room for the second Power Cell.
- Exit right, ride the small lift down again, and head for the large room in the bottom left — the doors lock and you’re ambushed. Win, and the doors release.
The trap-door shortcut
As you leave the ambush room, an enemy bursts out of a floor trap door — the hole it leaves is the way forward. Drop down, head left into the room you just cleared, and use the underground paths to slip under the locked door at the top. Inside, the PC terminal opens the security doors. Exit left to return to the lift room — there’s a safe room on the right. Rest now: the next lift is a boss.
Boss: Centipede Husk
Ride the lift up and activate the final Power Cell — the Centipede Husk erupts. It fights in the round chamber below, coiling around Cel and constricting the arena:
- The coil shrinks your safe space from every direction at once — roll before it closes, not during.
- It uncoils to slam and sweep; the moments after a slam are your damage windows.
- If it’s swarming you with adds, a grenade or a Riot Breaker blast clears the center fast.
Full attack list: all bosses. Beating it awards your first Vault Key after the Husk Cluster — vaults hold suit mods, covered in suit mods and energy cells.
Restart the Reactor Core
Back up to the console at the top of the Reactor Core — this time the activation holds. The Reactor roars to life and the objective flips to “Regroup with crew.”
Regroup — the three SCUs
Backtrack south through the large metal doors. A new enemy type attacks here — kill it, take the now-unlocked door on the left, and you’ll re-emerge in Factory East. In the room with the safe room, take the door below it, head down the stairs, and walk to the bottom left corner for a cutscene: the crew has reached the Central Elevator, but it’s locked behind three SCU overrides.
That unlocks the mid-game fork — Factory West, Waterworks, and the Containment Sector. The intended order is west first: Part 3 continues into Factory West and Maintenance for the Mechanical Crank, Explosive Charges, and the Security Sentinel guarding SCU 1.
Related Articles
End of Abyss Fractured Being: Final Boss Strategy (Both Phases)
Fractured Being final boss guide: phase 1 melee, grab and gravity attacks, phase 2 tendrils and shockwave — plus the stagger trick that trivializes its pull.
Last updated Oct 5

End of Abyss Optional Bosses: Brood Keeper, Morgue Dweller & Rematch
All three optional End of Abyss bosses — the Centipede rematch in the Reactor Pool, Brood Keeper in the Tunnels, and Morgue Dweller in the Infirmary.
Last updated Oct 5
End of Abyss Data Shards: All 8 Locations & the Secret Ending
All 8 Data Shard locations in End of Abyss — the keys, tools and burnable walls behind each, and how they unlock the secret ending at the Mainframe.
Last updated Oct 5
Was this helpful?
Thanks for the feedback!