
End of Abyss Walkthrough Part 6: Lower Levels & Final Boss
Walkthrough part 6: descend to the Lower Levels, activate both Release Protocols, claim the Incinerator, beat the Failed Experiment and Fractured Being.
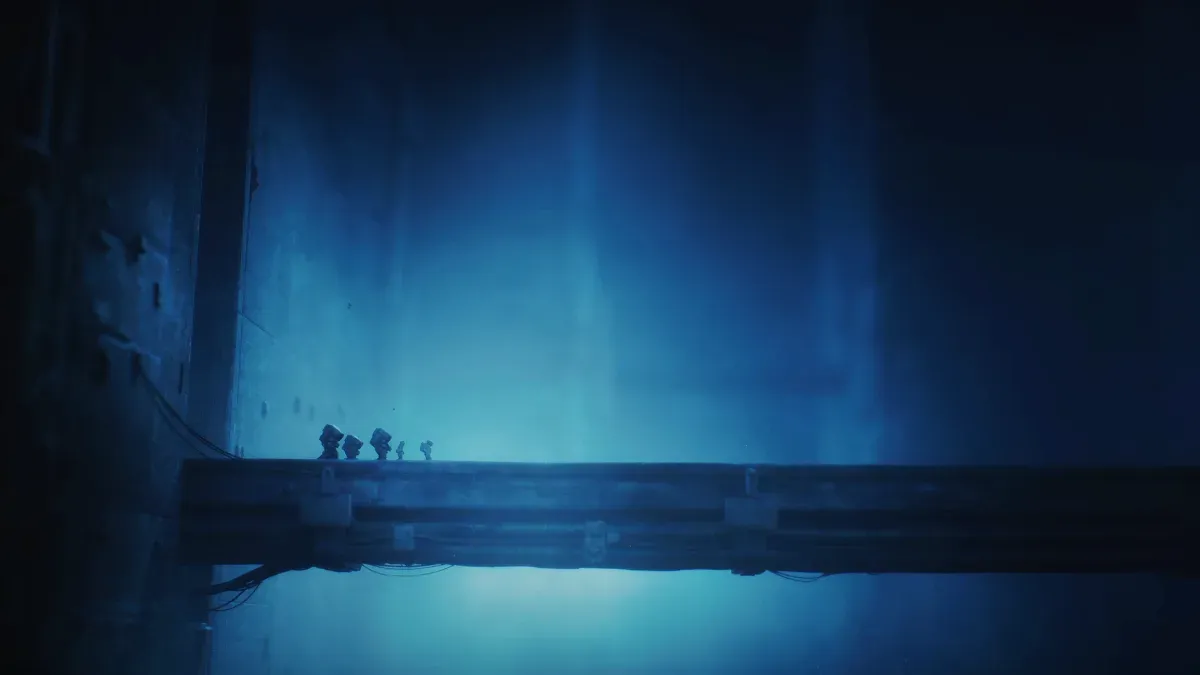
Part 6 is the finale. The Lower Levels are the facility’s deepest floor — labs, server halls, and the Mainframe that ties the whole story together — ending at the Neural Chamber and the Fractured Being. Secret ending warning: if you’re collecting the eight Data Shards, do not deliver the full set before this first clear — triggering the secret ending now locks you out of the normal ending’s trophy on this save. Two shards are in this zone; grab them, but hand them over only after the credits.
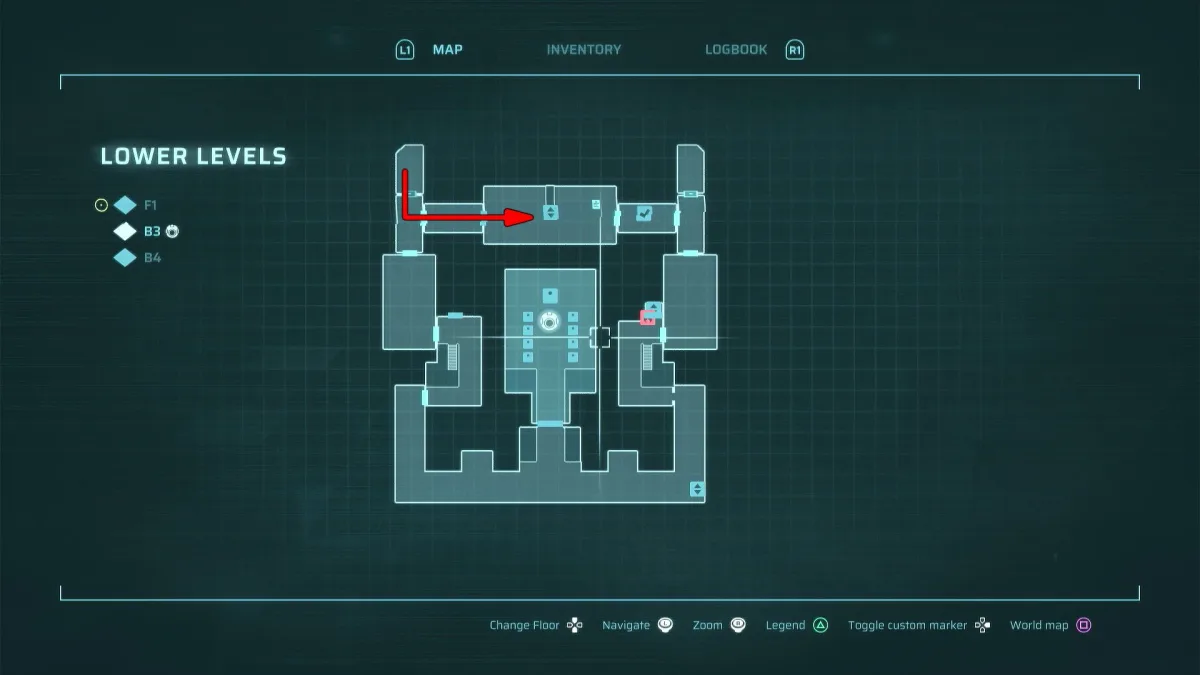
Descend and reach the Mainframe
- After the elevator ride, follow the NPCs through the scripted walk until you regain control.
- Take the door on the left, rest at the safe room, and ride the lift down.
- Through the large central door sits the Mainframe — walk up and interact with it. It asks for two Release Protocols to be activated.
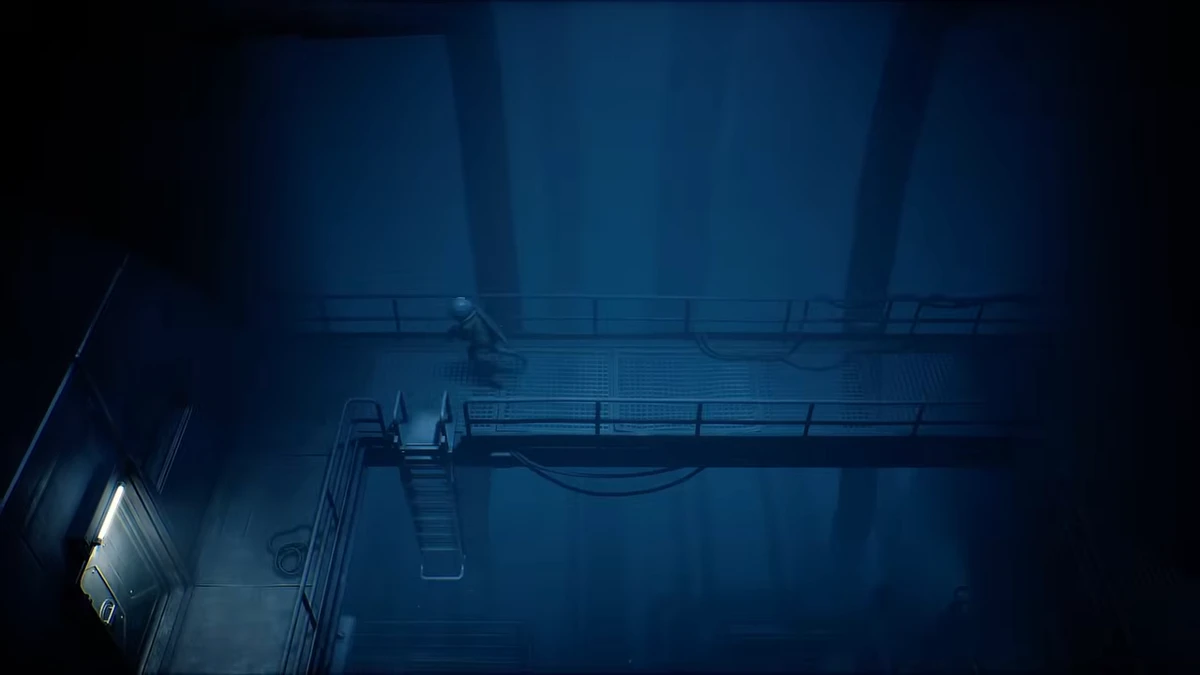
Release Protocol 1 (west)
- Back through the big door, go left until an Energy Node door blocks the path just before the objective marker.
- Scan the walls and follow the wires into the previous room — the three energy cores are mounted on the central servers. Shoot all three, survive the robot ambush, and press the first switch in the northern room.
Release Protocol 2 (east)
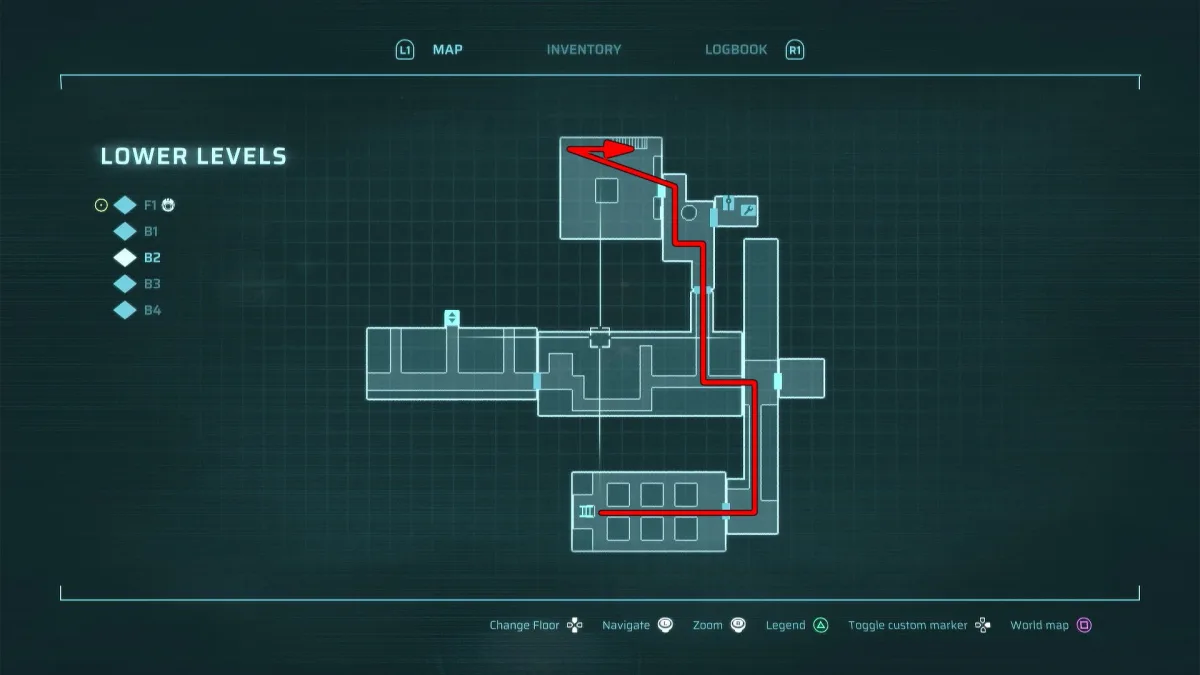
- Pressing the first switch opens a path to your right — through it, down the small lift.
- At the bottom, head right and loot the Utility Tunnels Key from a corpse.
- Backtrack to the stairs heading down beside a safe room and follow the utility tunnels through to a second staircase.
- At the top, the door on the right leads to a mirror of the first room: same routine — scan, follow cables, shoot the nodes on the servers, clear the ambush, press the second switch.
- Return to the Mainframe and report.
The Neural Chamber — get the Incinerator
The Mainframe points you at the Neural Chamber — but the route there is locked behind access cards and a wall of organic goo only the Incinerator burns.
- Back in the main hall where you split from the NPCs, take the door on the right.
- Continue right to a small lift and ride down. Head right, then down, into the room on your left — a ladder leads to a corpse holding Level 1 Access.
- Level 1 Access opens the door north of the metal-catwalk area.
- Through it: up the stairs, ride the lift up, exit through the upper-left room — the Incinerator lies on the floor of the next hall. Pick it up; it’s required.
- Use the safe room to the north, then follow the path to a wall of goo — burn it down with the Incinerator and continue left.
Boss: Failed Experiment
The Failed Experiment is the facility’s apex specimen — and it is critically weak to fire. This is the fight the Incinerator was handed to you for:
- Keep the flame on it — sustained burn out-damages every other option you own.
- Detonate the explosive containers in the arena when it crosses near them for free burst.
- It lunges and sweeps like a heavier Husk Cluster; roll through the lunges and reapply flame on the recovery.
Full moveset: all bosses. Loot the Creation Project Access card from the room after it falls.
Final boss: Fractured Being
Return to the main hall and take the north door — the room with the triangle and the corpse leads to the Neural Chamber. Open the door on the right first for a safe-room shortcut. Then step in.
The Fractured Being fights in two phases:
- Phase 1 — melee slams, swipes, a radial shockwave, a grab, and a gravity attack that drags you in. During the gravity pull, a Riot Breaker blast staggers it and cancels the attack.
- Phase 2 — it adds ranged tendril strikes and a wider shockwave; stay mid-range, roll the tendril tells, and punish the post-shockwave recovery.
Dedicated strategy: Fractured Being guide.
After the credits
The normal ending rolls after the Fractured Being — assuming you didn’t already hand all eight Data Shards to the Mainframe. Post-game keeps your save: shuttles stay live, the boss is re-fightable, and the optional content stays open — so deliver the shard set now and re-fight it for the secret ending, then chase — the Infirmary side-area (Infirmary Key from the Parasitic Spire in the F1 labs — burn it with the Incinerator), the three optional bosses, the Support Gun and Particle Disruptor, and full logbook completion.
Related Articles
End of Abyss Fractured Being: Final Boss Strategy (Both Phases)
Fractured Being final boss guide: phase 1 melee, grab and gravity attacks, phase 2 tendrils and shockwave — plus the stagger trick that trivializes its pull.
Last updated Oct 5
End of Abyss Optional Bosses: Brood Keeper, Morgue Dweller & Rematch
All three optional End of Abyss bosses — the Centipede rematch in the Reactor Pool, Brood Keeper in the Tunnels, and Morgue Dweller in the Infirmary.
Last updated Oct 5
End of Abyss Data Shards: All 8 Locations & the Secret Ending
All 8 Data Shard locations in End of Abyss — the keys, tools and burnable walls behind each, and how they unlock the secret ending at the Mainframe.
Last updated Oct 5
Was this helpful?
Thanks for the feedback!