
End of Abyss Walkthrough Part 4: Waterworks & SCU 2
Walkthrough part 4: drain the Waterworks, find the Operations Key, beat the Drowned Husk beneath the canals, and override the second SCU.
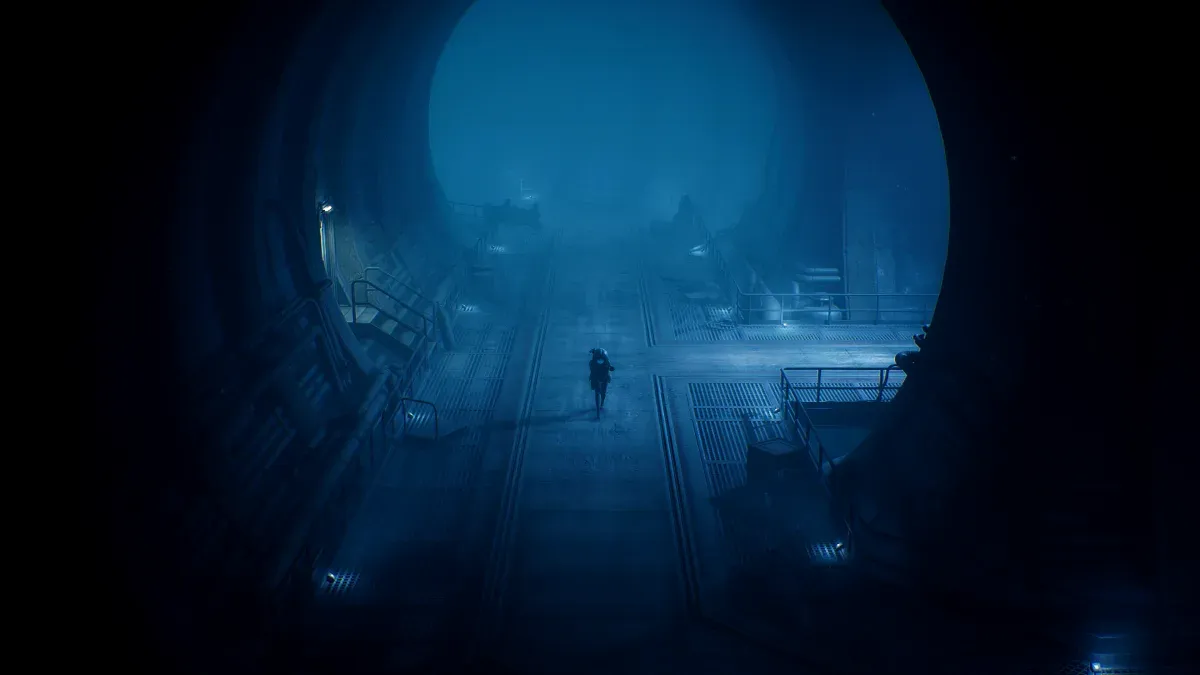
Part 4 is the shortest of the three SCU legs — a flooded pump station where the whole zone is a water-level puzzle. You’ll need the Mechanical Crank from Part 3 to cross its bridges, so don’t come here first.
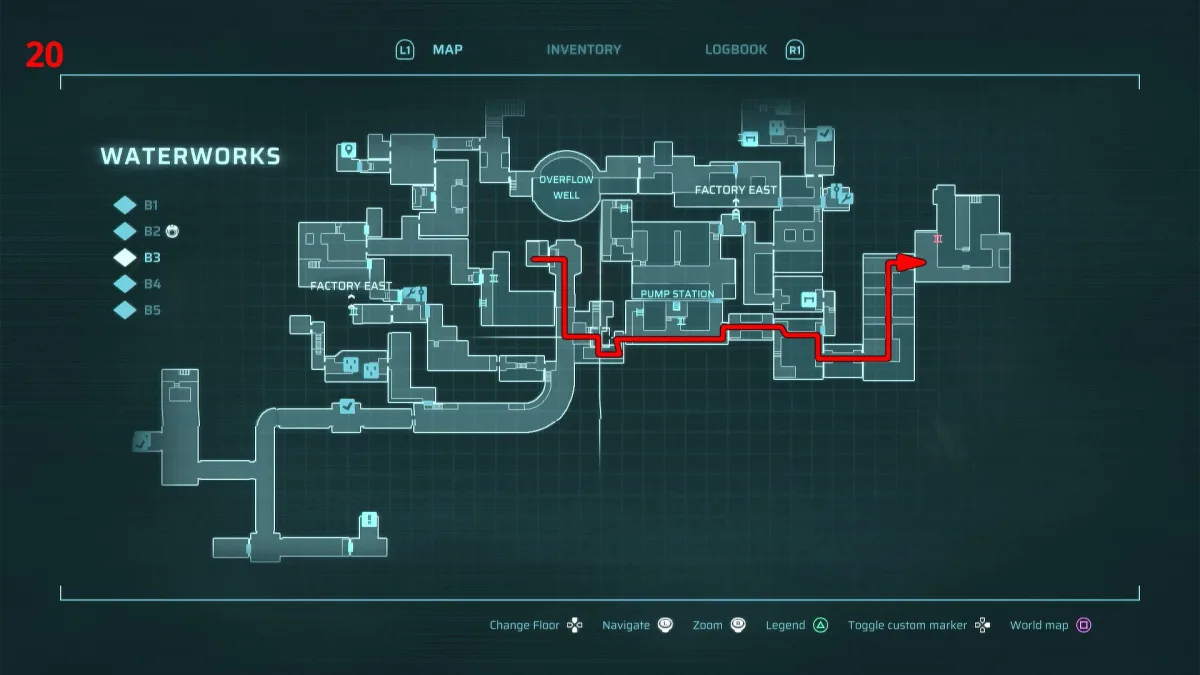
Enter the Waterworks
From the Factory East safe room area, take the stairs at the south of F1 — they lead straight down into the Waterworks.
- Head right from the entrance and follow the large stream of water flowing north through the zone.
- Climb out on the right bank and take the exit on the right.
- Continue right, then north, to an Extendable Bridge — crank it across with the Mechanical Crank.
- Cross and work over to the left side of the area: a small room holds the Operations Key.
- Backtrack south to the entrance safe room — it reconnects cleanly, so rest here.
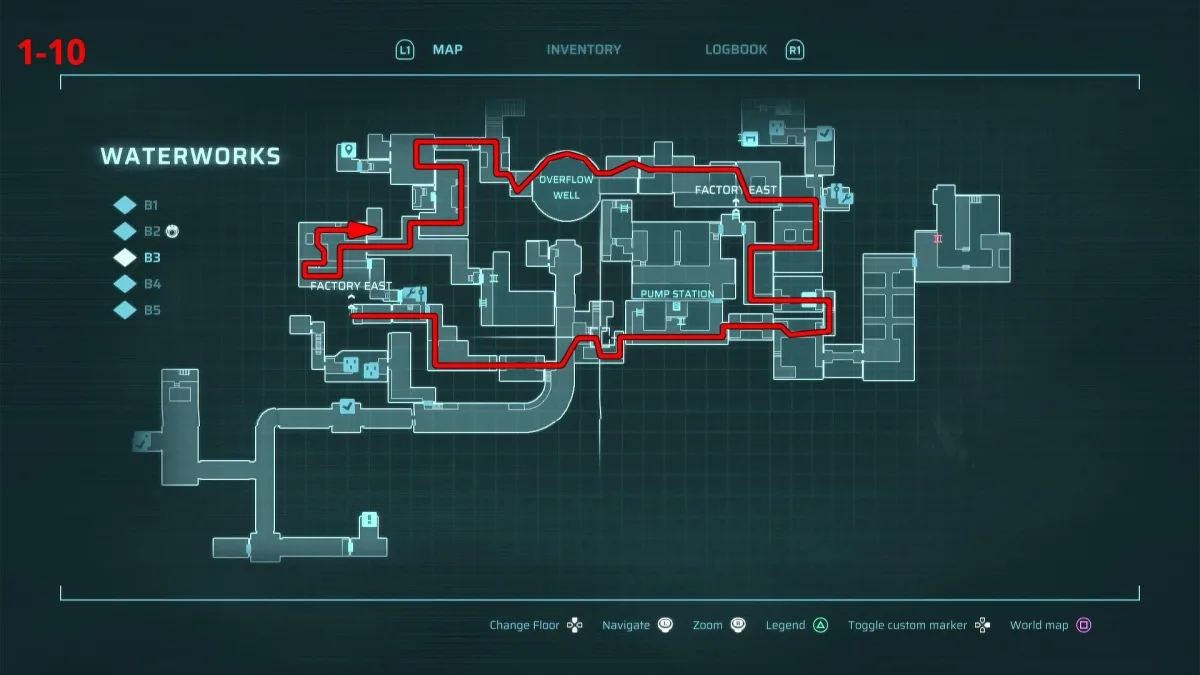
The door above the stream
Go back up the main stream and climb out right again — but this time go up and cross the pathway running above the water. The Operations Key opens the door at the end. Inside: cross the bridge and climb down the ladders into the lowest canal. A boss waits at the bottom.
Boss: Drowned Husk
The Drowned Husk is the Waterworks’ apex mass — a bloated aquatic variant that fights in a cramped drained channel. It hits slower than the Security Sentinel but much harder:
- Its lunge covers most of the channel’s width — roll perpendicular to it, not backward along it.
- It spits and summons smaller drowned creatures; keep the edges clear so you always have a roll lane.
- The Riot Breaker stagger is strong here — two blasts during its recoveries ends phases quickly.
Full attack list: all bosses. It drops a Vault Key — the fourth of the eight that open the vaults in our suit mods guide.
Drain the main canal
Past the boss, a large switch drains the water filling the main stream — the Waterworks’ central gimmick. With the canal empty:
- Head back to the main stream area and climb up the newly exposed ledge.
- Follow the path north to the second SCU and override it. Two down, one to go.
Open the route to the Containment Sector
The exit to the Containment Sector sits behind a second drain sequence on the far right of the zone:
- Go to the room on the far right of the Waterworks and press the switch.
- Cross the new bridge and press the switch at the top.
- Return to the first switch and press it again — the water drains.
- Climb down the ladder on your left and head right through the emptied channel.
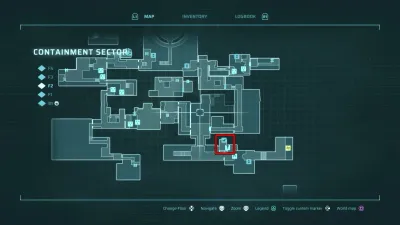
The path deposits you in the Containment Sector — where the air itself is lethal. The moment you climb up, radiation starts ticking your health down. Don’t linger: the safe room is immediately to your right, and Part 5 starts with a mandatory detour for the Radiation Protection suit mod that makes the zone survivable.
Backtrack note: once you hold the Grappling Hook and Explosive Charges, the Waterworks hides an Energy Cell, a Data Shard, and the switch chain that drains the Reactor Pool — all catalogued in those guides.
Related Articles

End of Abyss Fractured Being: Final Boss Strategy (Both Phases)
Fractured Being final boss guide: phase 1 melee, grab and gravity attacks, phase 2 tendrils and shockwave — plus the stagger trick that trivializes its pull.
Last updated Oct 5
End of Abyss Optional Bosses: Brood Keeper, Morgue Dweller & Rematch
All three optional End of Abyss bosses — the Centipede rematch in the Reactor Pool, Brood Keeper in the Tunnels, and Morgue Dweller in the Infirmary.
Last updated Oct 5
End of Abyss Data Shards: All 8 Locations & the Secret Ending
All 8 Data Shard locations in End of Abyss — the keys, tools and burnable walls behind each, and how they unlock the secret ending at the Mainframe.
Last updated Oct 5
Was this helpful?
Thanks for the feedback!