
End of Abyss Walkthrough Part 1: Outer Sector & Habitation Sector
Walkthrough part 1: follow Soldier E-19 through the Outer Sector, power the Habitation Sector beacon, climb the Comms tower, and beat the Husk Cluster.
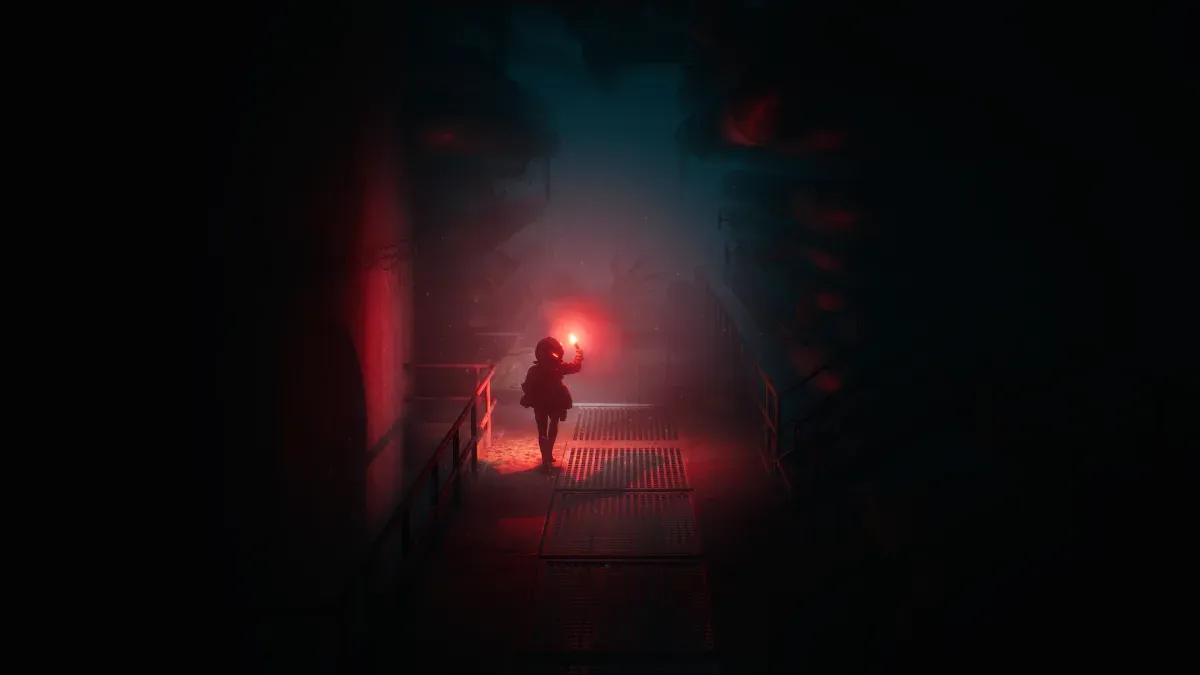
Part 1 covers the opening descent: following Soldier E-19 into the facility, powering the Beacon in the Habitation Sector, and unlocking the first fast-travel Shuttle behind the game’s first boss. This is also where the game teaches its three core verbs — shoot, dodge, and scan — so keep the scanner guide in mind from the first corridor.
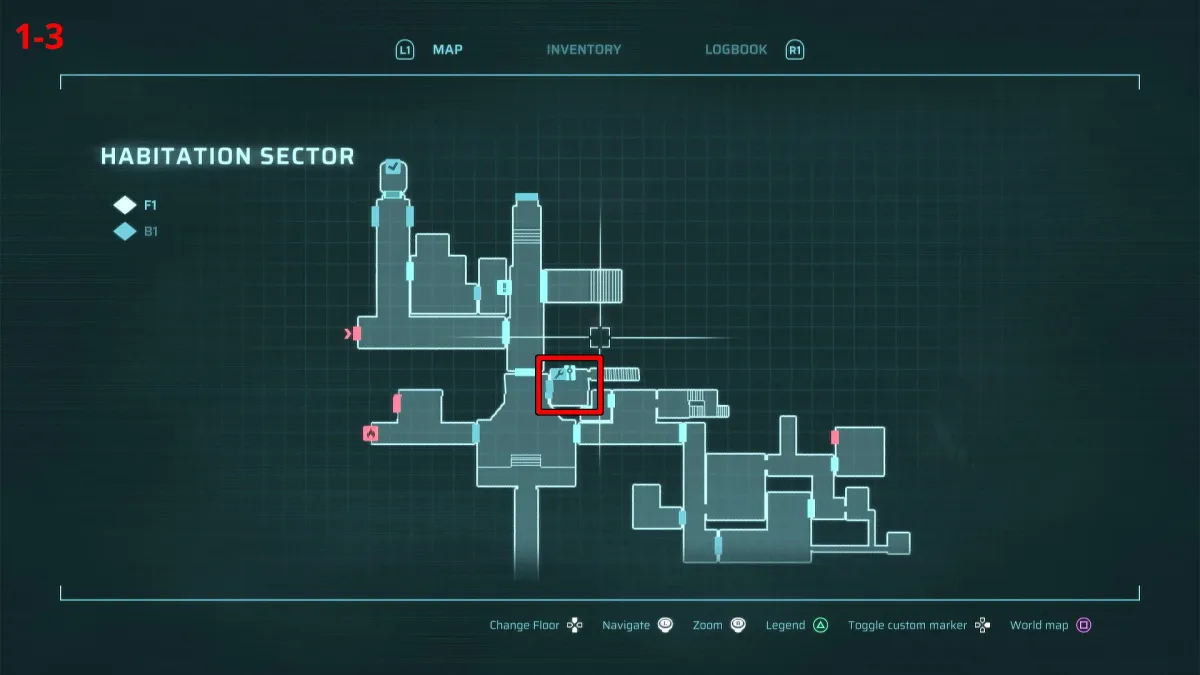
Follow Soldier E-19 (Outer Sector)
The entire opening is a guided path — follow E-19, pull the levers, and learn the scan-and-shoot door mechanic. There is exactly one route:
- Follow Soldier E-19 through the Outer Sector, using the levers along the way.
- At the locked door, use the scanner to sweep the surrounding walls — it reveals hidden Energy Nodes wired to the lock. Shoot each node to open the door.
- Ride the lift down with E-19 until you reach a room with a triangle marked on the floor, where the crew splits up.
The Energy Node door is a pattern the game reuses all the way to the finale — scan the walls near a sealed door, follow the wires, shoot the nodes.
Unlock the Habitation door
From the triangle room, detour through a vent to grab the Worker Access Keycard, then return to E-19. Your route:
- Take the door in the top right of the triangle room — that’s your first safe room (yellow-lit door). Rest at the pod: safe rooms save, heal, recharge your health boosters, and let you craft.
- Continue to some stairs, go up, take the door on the left, then exit the next room bottom right.
- Follow the path to a small room with a vent. Crawl in, take the left fork, and pick up the Worker Access Keycard from the floor near a few enemies.
- Use it on the door to the left, head back to E-19, and open the main door.
Regroup with the crew and power the Beacon
Through the main door, head down the stairs and interact with the cube device — that’s the Beacon, and activating it completes the first objective. With the Beacon on, head back upstairs and continue north into the Communication Center Control Room and talk to Soldier C-12.
Optional but recommended: scan the Map Station on the left side of the Control Room before leaving — it charts the zone and makes the tower leg much easier to navigate.
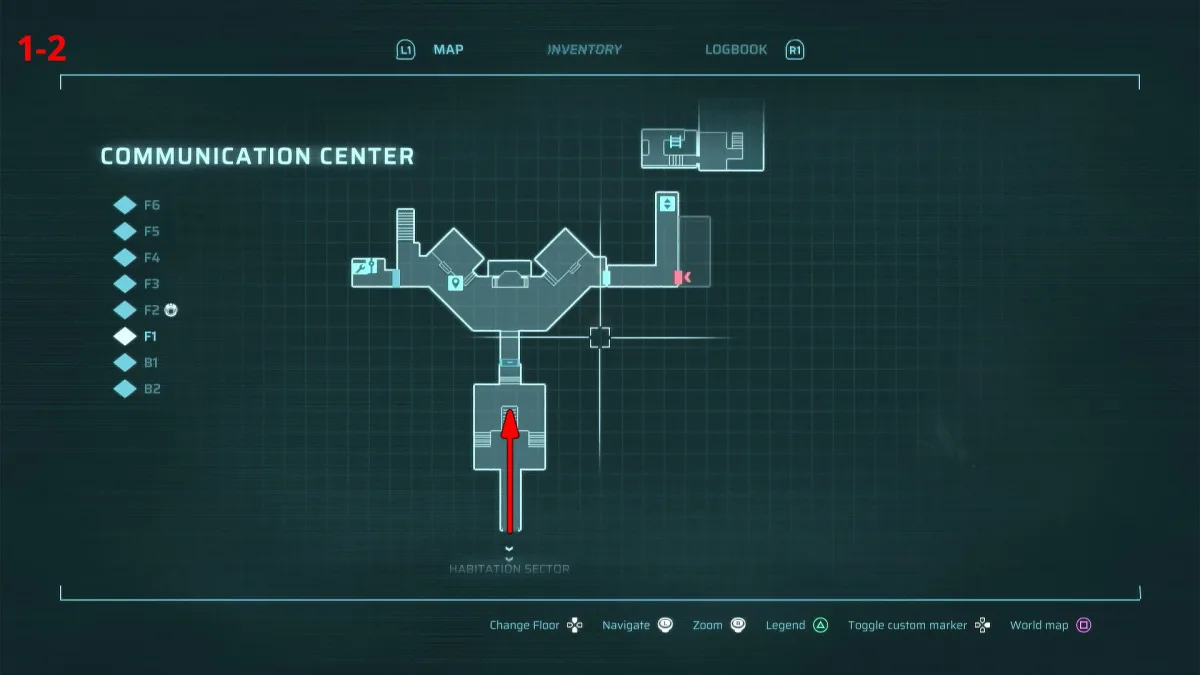
Climb the tower and place the Power Converter
The Comms tower puzzle is a fetch loop: find the missing Power Converter, slot it into the red-light conduit, return to C-12.
- Exit the Control Room through the door on the left — there’s another safe room through here worth using.
- Head down the stairs behind Soldier O-14 and follow the path until a ladder leads up to 3 Power Conduits. One slot glows red: it’s missing a Power Converter.
- Take the door to the right of the conduits and continue until you spot a yellow item on the floor of the room below you. Jump down and grab the Power Converter.
- Return via the door in the bottom left — don’t climb the ladder down; continue left, through the door, and back up the ladder to the conduits. Slot the converter into the red-light position.
- Head back to the Control Room (down the conduit ladder, right, down two ladders, onto the lift) and report to C-12.
Open the shuttle corridor
Back in the Habitation Sector, a jump through an open window leads to the PC that unlocks the shuttle entrance — and the room also hides the game’s second weapon.
- From the Control Room, go south into the Habitation Sector and take the door on the left in the corridor.
- In the corridor south of Security, look for an open window on your right — vault through it.
- Grab the Riot Breaker shotgun lying in plain sight in this room — it’s the best crowd-control tool in the early game.
- Interact with the PC at the end of the room to unseal the door on the right side of the main corridor.
Boss: Husk Cluster
Through the new door waits the Husk Cluster — a swarm-spawning mass of fused bodies. It periodically ejects smaller Husks that chase you, so the fight is about thinning adds before they surround you.
- Keep moving and dodge-roll through lunges; the Cluster telegraphs its slam with a rear-up.
- The Riot Breaker you just picked up chews through both the adds and the boss — don’t save shells for later, this is what they’re for.
- Full strategy and stats: all bosses.
Ride the Shuttle to Factory East
After the fight, continue right and activate the Shuttle — the game’s fast-travel network. Shuttles connect the major zones once powered, and this first one carries you to Factory East, where Part 2 begins at the Reactor.
Collectible note: the Habitation Sector hides several logbook notes and, much later, a Data Shard and an Energy Cell behind keycards you won’t have for hours — tag the locked doors with your scanner now so the map remembers them.
Related Articles

End of Abyss Fractured Being: Final Boss Strategy (Both Phases)
Fractured Being final boss guide: phase 1 melee, grab and gravity attacks, phase 2 tendrils and shockwave — plus the stagger trick that trivializes its pull.
Last updated Oct 5

End of Abyss Optional Bosses: Brood Keeper, Morgue Dweller & Rematch
All three optional End of Abyss bosses — the Centipede rematch in the Reactor Pool, Brood Keeper in the Tunnels, and Morgue Dweller in the Infirmary.
Last updated Oct 5
End of Abyss Data Shards: All 8 Locations & the Secret Ending
All 8 Data Shard locations in End of Abyss — the keys, tools and burnable walls behind each, and how they unlock the secret ending at the Mainframe.
Last updated Oct 5
Was this helpful?
Thanks for the feedback!