
End of Abyss Walkthrough Part 5: Containment Sector & SCU 3
Walkthrough part 5: get the Radiation Protection mod, claim the Grappling Hook, survive the critical radiation zone, beat the Radiation Host, and override SCU 3.

Part 5 is the longest leg — the Containment Sector is flooded with radiation that drains your health just for standing in it, and the story won’t let you proceed until you’ve earned the suit mod that makes the zone survivable. You leave with the Grappling Hook, the last major traversal tool, and the third SCU.
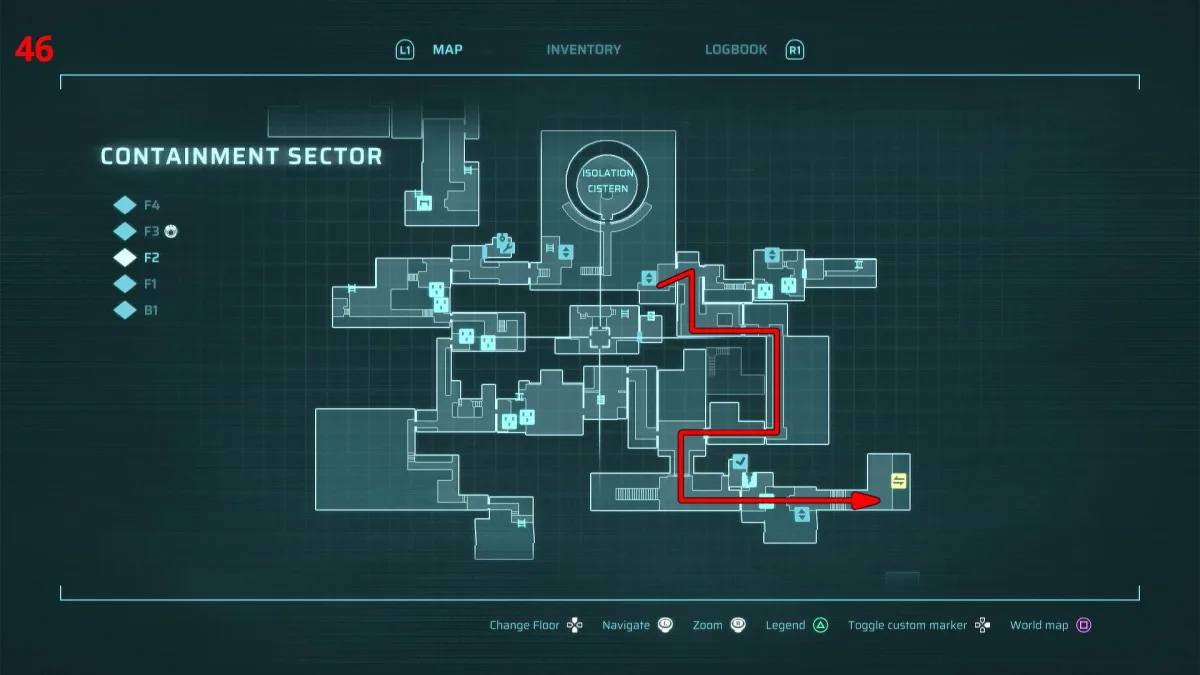
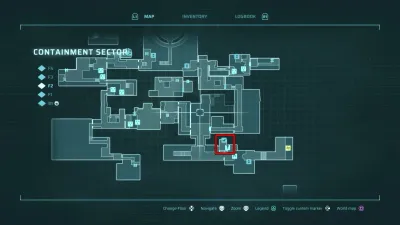
Survive the radiation — the Basement detour
The moment you climb into the Containment Sector your health starts ticking. Don’t explore yet: dive right into the safe room, then head straight for the Radiation Protection mod.
- From the Containment safe room, go all the way left — the path reconnects to Factory East.
- Pick up the Basement Keycard and press the switch beside it to extend the bridge.
- Cross, continue left to a ladder, and climb down into the Basement.
- At the strange growths, go down the metal stairs and then the ladder. (Optional first: go right to unlock a shortcut back to the keycard room — worth it, there’s an ambush below.)
- At the bottom, move toward the screen and open the door with the Basement Keycard. Survive the ambush inside, then take the left door: Radiation Protection suit mod.
- Return to the Containment safe room — there’s a quick route through the door on the right above where you found the mod — and equip the mod at the pod.
The mod consumes several mod slots at once, which is why the Energy Cells in Part 3 matter. If you’re short a slot, the other four cell locations are in suit mods and energy cells.
Claim the Grappling Hook
With Radiation Protection equipped, the zone stops hurting — now push through to the Grappling Hook.
- Head left and up to the next floor, then up again and left. Climb the ladder on the left and work right until a wall switch opens the door below you. Drop, go through.
- Continue north, then left, and ride the lift down. At the bottom head left through the lower level until a ladder climbs back to F2. Go left and up to a safe room.
- From that safe room head left — the path bottlenecks into an ambush room. Kill everything to unlock the right-hand door and take the Grappling Hook.
The Hook pulls down marked ladders and crosses grappling points over gaps — the second half of the facility assumes you have it. It also yanks objects: mortuary drawers, loose panels, even enemies like the Radiation Host’s healing Glowticks.
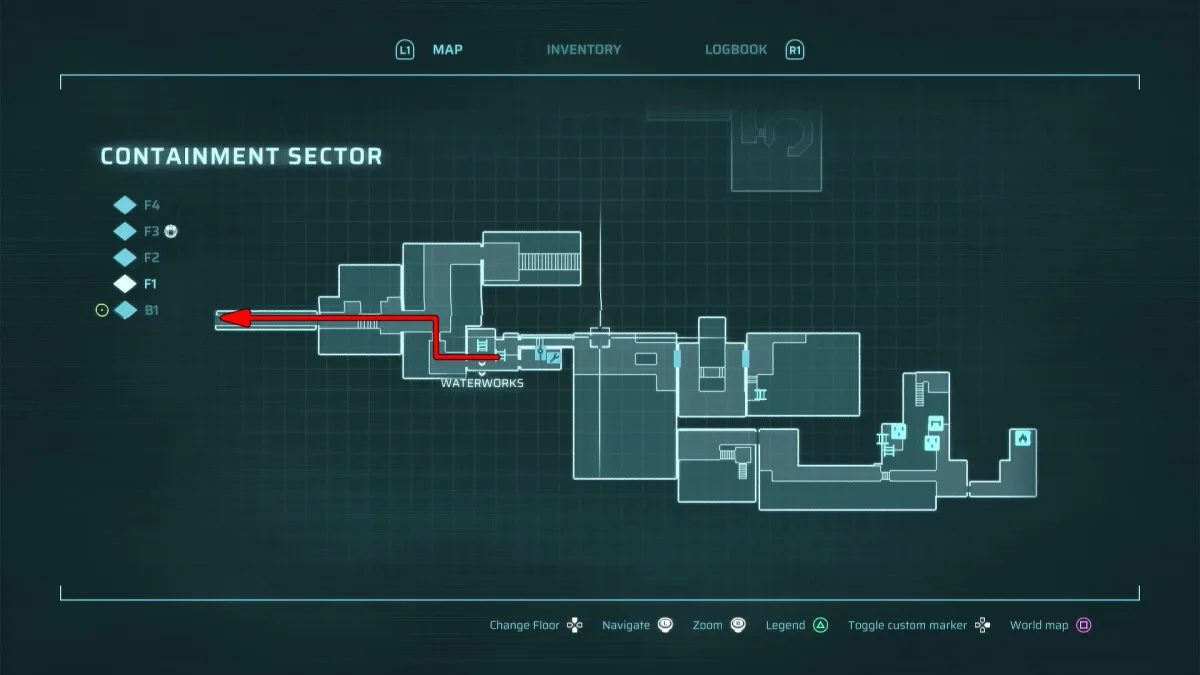
Return and route to the critical zone
- Head back toward the start of the sector — fastest is back through the ambush room, grappling the ladder to the north.
- Activate the Shuttle in the far bottom right of F2 before continuing — the backtrack later is long, and this unlocks the shortcut home.
- Get to the far left side of F2 (via the circular-structure room — grapple the gap on its left side) and pull down the ladder. Climb into the critical radiation zone — heavier than normal, but the mod holds.
The bridge puzzle
The critical zone’s core room is a stack of Extendable Bridges and switches — the goal is the northwestern grapple point.
- Shoot the petrified soldier blocking the first switch, press it, and cross to the middle platform. Take the north bridge (press its switch if it’s retracted). Safe room on the right — use it.
- Left of the safe room, two charging ball enemies ambush you. They’re invulnerable from the front: either time a grenade to land behind them, or sidestep their charge so they slam a wall — the stagger lets you shoot their exposed backs.
- Through the left door, up the stairs, exit right. Press the switch to spawn a grappling point across the northern gap, then continue up and ride the lift back down to the bridge room.
- Cross the right bridge, retract it with its switch, take the stairs up, and drop beside the northern exit. Return to center, hit the north switch — this retracts the top bridge and re-extends the right one. Cross right again, climb, exit north.
- With the top bridge gone, the grapple point you spawned now crosses the gap west.
The last stretch
Almost there — two more ladder-and-switch tricks guard the boss:
- Climb the ladder on the right, drop to the path below, and press the switch to extend the bridge beneath. Drop and cross.
- Climb the next ladder and use the Grappling Hook to hit the same switch from across the gap on your right — it extends the final bridge.
- Ahead is the circular structure — the boss arena. Before entering, ride the small lift down on the left to unlock the shortcut back to the last safe room. You’ll want it.
Boss: Radiation Host
The Radiation Host is a bloated emitter fought inside the circular structure — and it heals. Floating Glowticks drift toward it and restore its health:
- Grapple the Glowticks out with your Hook, then finish them with melee or a quick shot — a Glowtick that reaches the boss is damage undone.
- Its radiation bursts punish standing still; keep circling the ring.
- Burst it down between Glowtick waves — the Security Rifle and Riot Breaker both shine.
Full breakdown: all bosses. It drops the fifth and final story Vault Key.
Override SCU 3 — back to the elevator
Right of the arena, climb down and take the north door: the final SCU. With all three overridden, unequip Radiation Protection (the radiation is behind you now — reclaim the slots) and return to the Central Elevator in Factory East. Talk to Soldier E-19 and ride down: Part 6 covers the Lower Levels, the Mainframe, and both bosses standing between you and the endings.
Related Articles
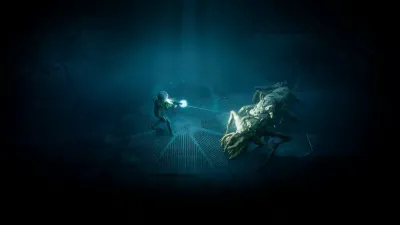
End of Abyss Fractured Being: Final Boss Strategy (Both Phases)
Fractured Being final boss guide: phase 1 melee, grab and gravity attacks, phase 2 tendrils and shockwave — plus the stagger trick that trivializes its pull.
Last updated Oct 5
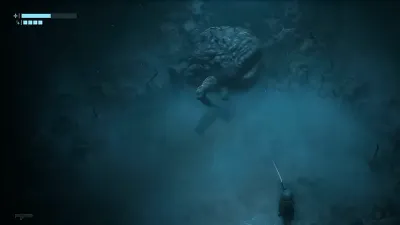
End of Abyss Optional Bosses: Brood Keeper, Morgue Dweller & Rematch
All three optional End of Abyss bosses — the Centipede rematch in the Reactor Pool, Brood Keeper in the Tunnels, and Morgue Dweller in the Infirmary.
Last updated Oct 5
End of Abyss Data Shards: All 8 Locations & the Secret Ending
All 8 Data Shard locations in End of Abyss — the keys, tools and burnable walls behind each, and how they unlock the secret ending at the Mainframe.
Last updated Oct 5
Was this helpful?
Thanks for the feedback!